MixWave Jay Weinberg Drums: From Robotic to Realistic
Nail The Mix Staff
We’ve all heard it. That dreaded sound of modern metal drums that are just… off. They sound fake. They feel programmed. They sound like plastic toys being hit in the vacuum of space. Nowhere is this more obvious than in a blast beat that sounds like a machine gun firing perfectly timed, identical snare samples. It’s a core aspect of the problem facing many modern metal productions.
But then you hear a modern metal record where the drums are absolutely massive. They’re tight, they punch you in the chest, and they feel like a real, powerhouse drummer is behind the kit. You might assume it’s 100% natural, but odds are, it’s still loaded with samples and editing.
So what’s the difference? If both good and bad-sounding drums use samples, then samples aren’t the problem. The problem is how you use them.
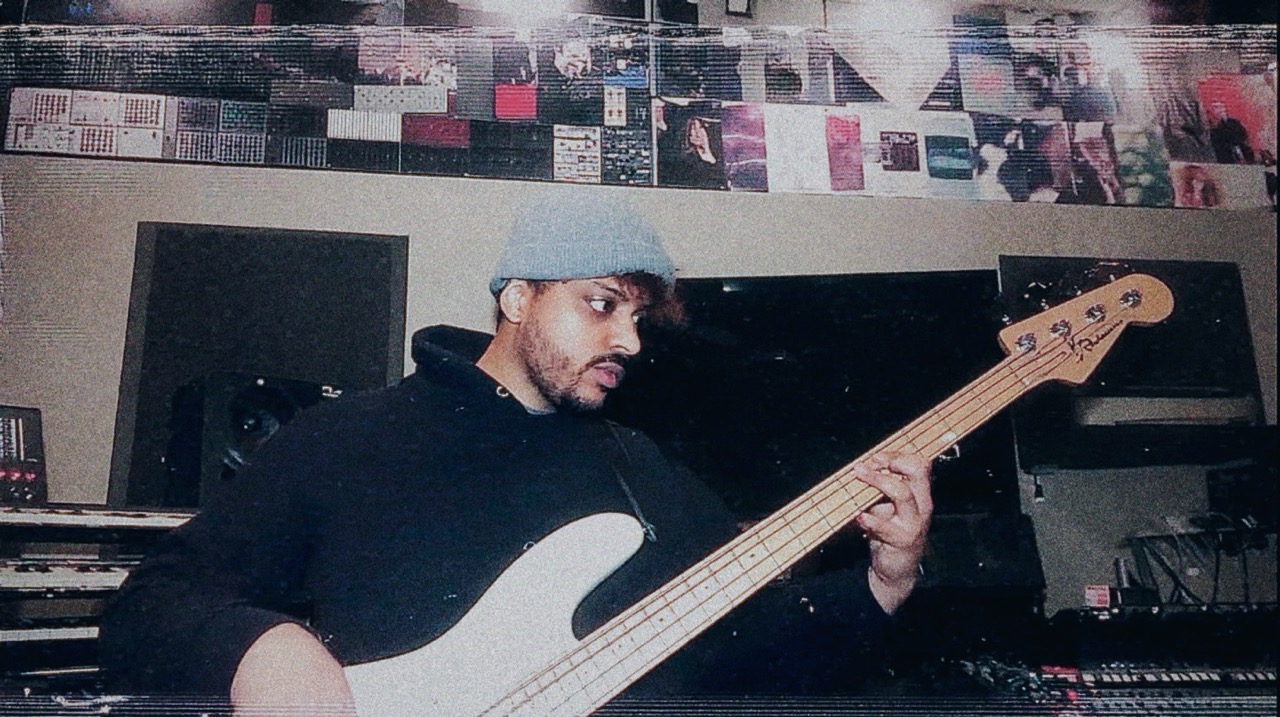
A top-tier sample library like the MixWave Jay Weinberg Drum Library is an insanely powerful tool. But like any tool in your DAW, it’s neutral. It’s up to you to make it sound like an absolute monster or a shitty kitchen robot. Let’s dive into how to use this killer library to create drums that feel human, powerful, and ready for a brutal mix.
A Closer Look at the MixWave Jay Weinberg Library
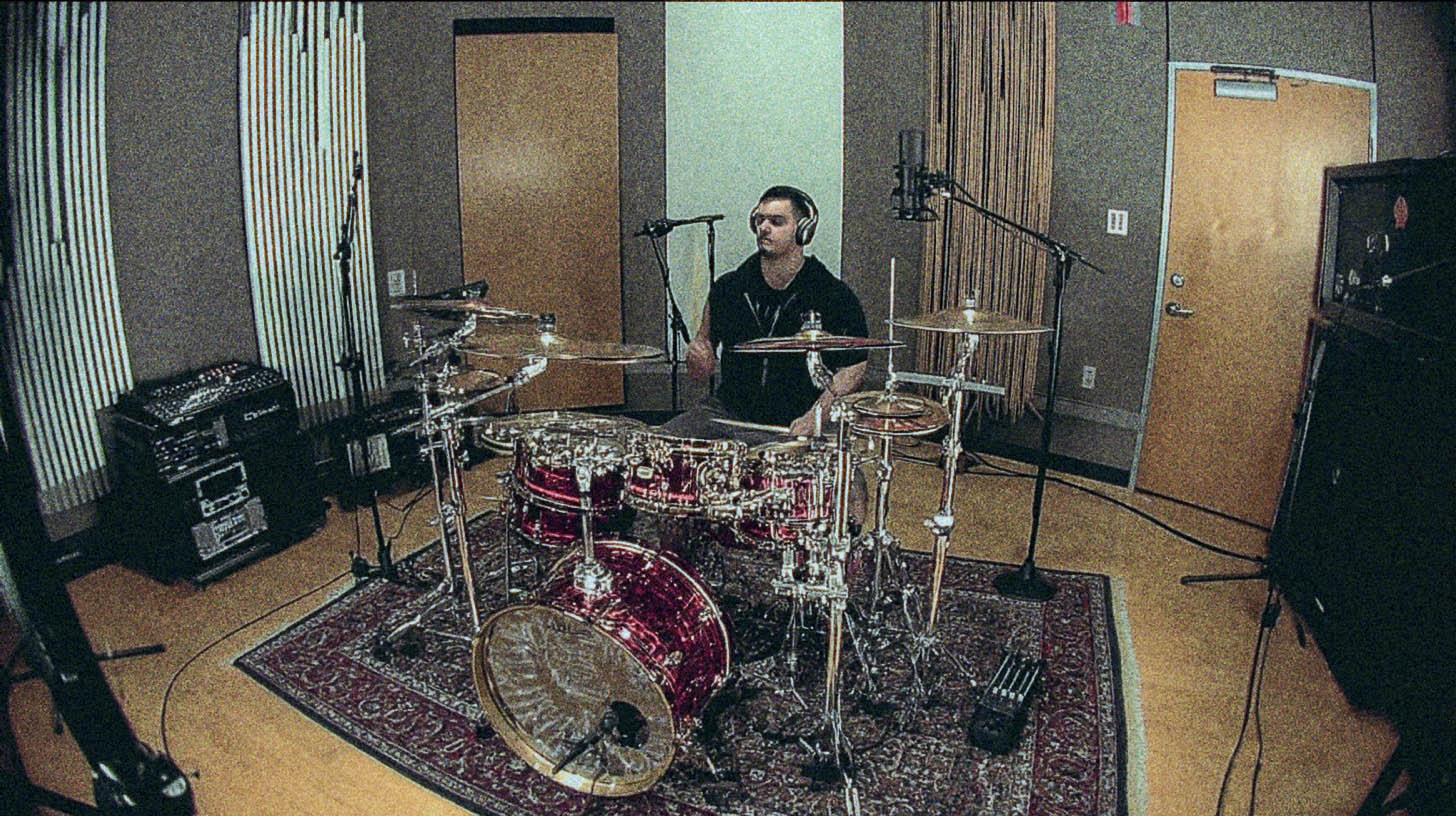
First off, what are we working with? This isn’t just a handful of samples. Jay Weinberg’s library is a meticulously captured collection of his entire setup, recorded at Henson Recording Studios. We're talking multiple kicks, six different snare options (including his signature Tama snare), a full rack of toms, and a universe of Zildjian cymbals.
What sets it apart for metal producers is the depth. Each drum has tons of velocity layers and round robins, meaning you get different-sounding hits depending on how hard you program the MIDI, and you won’t get that machine-gun effect from the same sample firing over and over. This is especially critical for fast passages where you need to maintain natural dynamics in rolls and fills. Plus, the built-in MixWave mixer gives you a fully processed, mix-ready sound right out of the box, crafted by producer Will Putney.
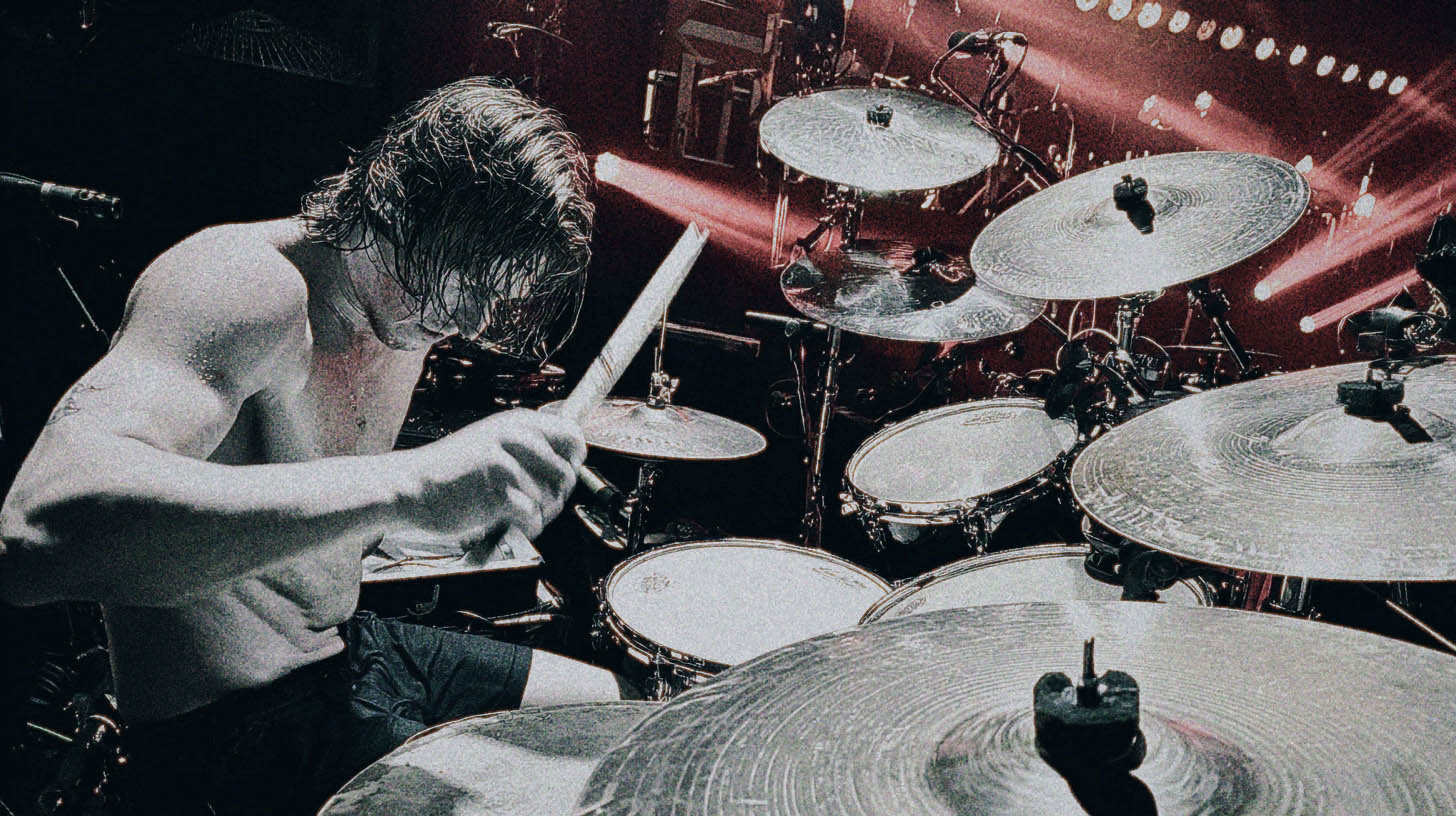
It's aggressive, punchy, and has that signature Slipknot power. But having the best samples is just step one. Now you have to make them breathe.
The Real Enemy: Robotic Perfection
The number one reason programmed drums sound fake is that they’re too perfect. No human drummer—not even Jay Weinberg—hits a drum at the exact same velocity, in the exact same spot, perfectly on the grid every single time. Those tiny imperfections are what make a performance feel alive and interesting.
When your brain hears the exact same snare sample at the exact same volume hitting precisely on the grid for 32 bars straight, it checks out. It becomes noise. To avoid this, you need to program with intent and embrace a little bit of controlled chaos.
Making Jay's Drums Your Own: Actionable Techniques
Here’s how you can take the raw power of the MixWave library and make it sound like a real performance that serves the song.
Velocity Is Your Most Powerful Tool
In a multi-sampled library, velocity doesn't just control volume; it controls which sample gets triggered. A MIDI velocity of 127 (the max) is a full-force wallop. A velocity of 80 is more of a relaxed groove hit. This is your key to realism.
Think about a real drummer. The snare backbeat on a half-time breakdown is going to be CRUSHED. Program those MIDI notes with high velocities, maybe between 115-127.
Now, consider a fast blast beat. To play that fast, a drummer has to use a different technique and can't hit with the same power. Those snare hits will naturally be a bit softer. So, when programming blasts, pull the snare velocities down. Maybe they live in the 95-110 range. This subtle shift in velocity will not only make the dynamics more realistic but will also trigger different, more appropriate samples from the library. Getting the MIDI right is crucial, so it’s worth learning specific workflows on how to edit blast beats cleanly.
Pro-Tip: Manually draw in slight velocity variations on your ghost notes, hi-hats, and cymbal patterns. Or, use your DAW’s "humanize" function to introduce subtle, random velocity changes.
Smart Quantizing: The 90% Rule
Everyone wants tight drums, but locking everything 100% to the grid is a surefire way to kill the groove. It erases the human element of pushing or pulling against the beat.
Instead of quantizing to 100%, try setting your quantize strength to somewhere between 85-95%. This tightens up the performance significantly but leaves just enough of the original human timing to feel authentic. It’s the perfect blend of precision and feel.
This requires you to understand the groove the drummer is trying to play. If it’s a bomb blast, you need to know that the snare is on the downbeat and the kicks are filling the 16th notes in between. Knowing the musical intention allows you to make informed editing choices that enhance the performance instead of sterilizing it, a core part of any professional workflow for editing metal drums.
Beyond MIDI: Blending with Real Drums
Often, the best use of samples is to reinforce great-sounding live drums. Let’s say you have a live drum recording where the overall groove sounds amazing, but the snare gets a little weak and lost during a fast fill or a blast beat.
Your first instinct might be to just automate the volume of the live snare track up during that part. But what happens? You also turn up a tidal wave of nasty cymbal bleed, making the whole mix sound harsh and washy.
This is the perfect scenario for sample reinforcement. In fact, there are several killer drum sample replacement techniques you can use for this exact purpose.
- Set up a MIDI track with a snare from the MixWave Jay Weinberg library (pick one that complements the tone of the real snare).
- Use a drum trigger plugin (like Slate Trigger 2 or Drumagog) on your live snare track to convert the audio hits into MIDI notes.
- Have that MIDI trigger your MixWave snare.
- Now, instead of turning up the live snare, blend in the sample underneath it just during the blast beat sections. You get all the punch, power, and consistency you need without cranking up nasty bleed. This also means you don’t need to slam your live snare with a compressor just to make it cut through. For more on how to use bus compression to glue your live and sampled drums together, there are advanced techniques worth exploring.
Processing Your Samples Like a Real Kit
Even though the MixWave library sounds incredible out of the box, you need to make it sit in your mix. Don’t just leave the plugin on an island.
- Create a Space: Route all your individual drum tracks (kicks, snares, toms, cymbals) to a single drum bus. Send this bus to a reverb to put every piece of the kit in the same virtual "room." This helps create a sense of cohesion, similar to how producers make drum rooms sound massive using clever processing. A plate reverb like Soundtoys Little Plate or Valhalla Plate can add size without sounding muddy.
- Glue It Together: Apply some light bus compression to your main drum bus. A VCA-style compressor like Cytomic’s The Glue or an SSL Bus Compressor plugin can help gel the individual pieces into a single, cohesive instrument. If you’re new to this, it’s worth reviewing the basics of compression for rock and metal to get a solid foundation.
- Add Character: Don’t be afraid to add a little saturation to the drum bus. A plugin like FabFilter Saturn 2 or Soundtoys Decapitator can add harmonic excitement and make the drums feel more aggressive and "finished."
Bringing It All Together for a Killer Mix
Getting pounding, realistic metal drums is a combination of starting with a top-tier library like the MixWave Jay Weinberg Drum Library and then applying musical, human-centric programming and processing techniques. It’s about managing velocities, quantizing smartly, and blending samples purposefully.
These techniques are a huge step toward pro-level drum sounds. But imagine looking over the shoulder of the exact producers who mix bands like Spiritbox, Periphery, and Lamb of God. At Nail The Mix, you get to do just that.
Every month, you get the actual multi-tracks from a massive metal song and watch one of our world-class Nail The Mix instructors build the mix from the ground up, explaining every plugin, every fader move, and every creative decision. See how they dial in drum samples, blend them with live kits, and make them absolutely slam in a dense mix. If you’re ready to see these concepts applied in real-world sessions, check out the full Nail The Mix sessions catalog and take your mixes to the next level.