Automated reverb swells for seamless transitions in tech death (ft. Zenith Passage)
Nail The Mix Staff
Let’s be real, mixing tech death vocals is a beast. You’re dealing with insane dynamics, guttural lows, piercing highs, and labyrinthine phrasing that all need to cut through one of the densest instrumentals in heavy music. Get it wrong, and you get a mushy, indistinct bark lost in a sea of blast beats and guitar wizardry. Get it right, and you get the commanding, monstrous vocal presence of a band like The Zenith Passage.
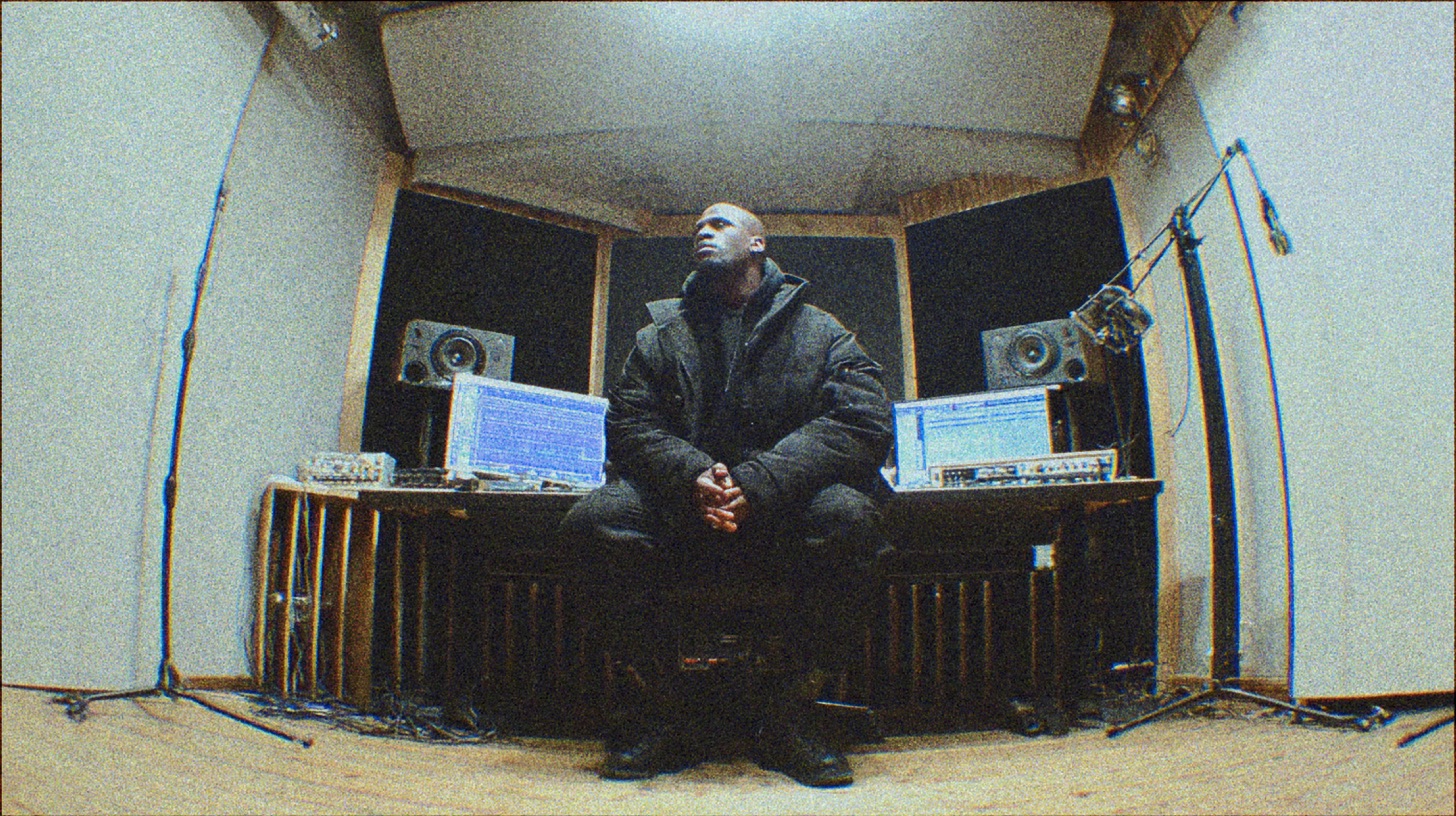
So how do you do it? We got a look inside the master mix session with producer Dave Otero to see exactly how he tackled the vocals for their album Datalysium. Forget hypotheticals; this is the real-deal processing chain he used. Let’s break down his approach, from the foundational hardware chain to the clever automation that makes it all work.
The Foundation: Why Hardware Still Rules for Vocals
Before a single plugin was loaded, Dave Otero made it clear that a huge part of the vocal sound was baked in during tracking, thanks to a killer hardware chain. This front-end processing does a ton of heavy lifting, taming dynamics and adding character before the signal even hits the DAW.
Dave’s Go-To Hardware Chain
For the Zenith Passage vocals, the signal flowed through a legendary combo: an 1176 compressor into a Pultec-style EQ, and then into a V-Comp. Sometimes, he’ll swap the 1176 for a Distressor, but this chain is one of his primary weapons.
Why this setup? It’s about more than just numbers on a dial. The sheer number of tubes and transformers the signal passes through has an almost magical effect, smoothing out harshness and balancing the vocal in a way that plugins struggle to replicate. Even the way a hardware compressor like the 1176 handles transients and sibilance can make a vocal sound smoother without any specific de-essing. This pre-processing makes the vocal sit in the mix far more easily from the get-go.
Your First Step Into Hardware
Think you need a million-dollar studio to get these benefits? Think again. Dave is a huge advocate for starting small. He got his start with a simple, affordable RNC (Really Nice Compressor) for tracking vocals. Just adding a bit of compression on the way in saves you a massive headache later. Your waveforms will be more consistent, editing is easier, and you won’t have to load a compressor on every single one of your 20 vocal tracks. It’s a game-changer.
Smart Vocal Processing on the Track Level
With a solid-sounding vocal already recorded, the in-the-box processing becomes less about rescue missions and more about technical problem-solving and enhancement.
The “Problem Solver” Plugin Chain
On the individual vocal tracks, Dave’s initial go-to plugins are the familiar Slate Digital VMR (Virtual Mix Rack) and VTM (Virtual Tape Machines). These are his staples for initial shaping and saturation.
Taming Harshness with a Hidden De-Esser
For de-essing, Dave pulls out a surprisingly clutch tool: the de-esser module inside the Waves Scheps Omni Channel. He praises it as one of his favorites, and it’s a great reminder that powerful tools are often hiding in plain sight within larger channel strip plugins. For particularly aggressive vocals, stacking de-essers is a pro technique, and the Omni Channel conveniently has two of them built right in.
Adding Grit with Distortion
To give the high screams some extra bite and character, a bit of saturation was added using FabFilter Saturn. This is a great way to help a vocal cut through without just cranking the fader or high-end EQ.
Creating Width and Impact Without Real Doubles
Dave didn’t track the vocals for this record, which meant he had a limited number of layers to work with. But in modern metal, width is non-negotiable. Here’s how he faked it.
Instant Width with an ADT Bus
To easily add width, Dave uses pre-made ADT (Artificial Double Tracking) aux tracks. He has a pair of tracks panned 60% left and right, and another pair panned 100% left and right. By simply dropping a mono vocal onto these tracks, he can instantly create a wide, doubled-sounding part that gives the vocal dimension.
The “In a Pinch” Manual Double
When a section needed even more emphasis, he resorted to a classic trick: creating a “fake double” manually. He’d copy the main vocal part to a new track, then use time-stretching and manual editing to slightly shift the timing of certain syllables and words. It’s not a perfect substitute for a real double-tracked performance, but it’s an effective way to add some dynamic interest and layering when you’re in a bind.
Gluing It Together on the Vocal Bus
All the individual vocal tracks and their ADT counterparts are routed to a vocal bus, which is where the final shaping and polishing happens.
Taming Mids and Adding Snap
On the bus, Dave uses a multiband processor to expertly manage the vocal’s frequency content. The goal is twofold:
- Control the Mids: A band in the low-mids is set to gently clamp down on any muddy frequency buildup that can occur as layers and different screams pile up.
- Add High-End Excitement: A band on the top end is set up to act like a slow compressor, adding snap and life back into the consonants (the ‘p’, ‘t’, and ‘k’ sounds). This helps the vocal retain its articulation in a fast, busy mix.
This is a perfect example of advanced EQ strategy that goes beyond simple static boosts and cuts.
The Final Polish with soothe2
To catch any remaining harshness or resonant peaks that pop out, he also loads up oeksound soothe2. This is the ultimate “set it and forget it” tool for transparently smoothing out a vocal without making it sound dull.
Using Ambiance to Guide the Listener
This is where Dave Otero’s mix philosophy really shines. He doesn’t just slap on a reverb and call it a day; he uses ambiance as a dynamic tool to shape the song’s energy and guide the listener through its many feel changes.
The Two-Reverb Approach
Dave sets up two primary reverbs for the vocals:
- The Tight Reverb: A shorter, tighter reverb (using a preset called “Tight Rope”) that provides a consistent sense of space without washing things out.
- The Ethereal Reverb: A much longer, wider, and more prominent reverb. This is the special sauce.
Automation is Everything
The key is that the long reverb isn’t always on. Dave automates the send level to this reverb to match the feel of the music. When the song shifts from a tight, staccato riff into a wider, more atmospheric section with layered guitars, he’ll automate the long reverb up. This makes the vocals feel like they “soak into” the mix and occupy the same larger space as the instruments. Then, when the song snaps back to a tight, percussive passage, he’ll pull the long reverb back out, making the whole mix feel like the air was just sucked out of the room.
Using Delay Throws for Smooth Transitions
To help bridge these sections, he’ll use automated delay throws. For instance, he’ll put a long, half-note delay just on the last word of a vocal phrase right before an ambient section kicks in. That delay tail then elegantly bleeds over, creating a seamless transition from the tight part into the washy part.
Learn The Full Process
These techniques give a serious glimpse into how a pro-level metal vocal is crafted. It’s a combination of a solid foundation from hardware, smart problem-solving with plugins, and creative automation that makes the vocal a living part of the song.
But seeing the vocal chain is one thing. Watching Dave Otero build the entire mix for this monstrous Zenith Passage track—dialing in the guitars, crushing the drums, and making everything sit together—is another. At Nail The Mix, you can do exactly that.
The Zenith Passage on Nail The Mix
Dave Otero mixes "Algorithmic Salvation"
Get the Session
Every month, we give you the raw multitracks from a massive metal album and a live, 8-hour masterclass where the original producer mixes it from scratch, explaining every single move. If you’re tired of presets and want to learn how the pros really get their sound, this is for you.
Check out the full Zenith Passage mixing session with Dave Otero, and when you’re ready to stop guessing, grab our free guide on Mixing Modern Metal Beyond Presets to start applying these concepts to your own mixes today.