The Best Signal Chain for Screaming Metal Vocals? (ft. Wage War)
Nail The Mix Staff
Let’s be honest, Wage War’s vocals are absolutely punishing. They’re raw, aggressive, and cut through a dense wall of guitars with serious attitude. Ever wondered how to get that level of intensity in your own mixes? We got to see legendary producer Andrew Wade break down his exact vocal chain from the Wage War session, and it’s full of killer techniques you can use right now.
Forget complicated templates and a hundred plugins. Wade’s approach is about smart recording, committing to sounds, and using a few key tools with surgical precision. Let’s dive into how he crafted these iconic metalcore vocals.
Creating Unique Textures: The Lo-Fi Whisper Intro
One of the most memorable parts of the track is the lo-fi whispered intro. You might think it’s a fancy plugin or a bit-crusher, but Andrew revealed it’s something much more organic and impossible to perfectly replicate with software.
The secret? A cheap microphone he “borrowed” from a friend, likely one you could find on Amazon. The real magic came from the performance technique: the vocalist’s mouth was placed directly on the mic, with air hitting the diaphragm in a very specific way. This physical interaction creates a unique, intimate texture that no filter can truly match.
Processing the Lo-Fi Vocal
- Low-End Filtering: First, a high-pass filter was used to clean up any unnecessary sub-frequencies.
- Heavy Compression: To completely smash the dynamics and remove any harsh transients, Wade used a heavy dose of compression to achieve a staggering -10 to -15 dB of gain reduction. This extreme compression also introduces a slight distorted character, adding to the lo-fi vibe.
- EQ Boost: Finally, a small but effective EQ boost was added at 2.29 kHz to give the whisper just enough presence to be clear without losing its mellow character.
The Perils of “Demo-itis”: Performance is King
In a fascinating look behind the scenes, Andrew revealed that some of the final vocals in the song were actually from the original demos. Why? Because the performance and vibe were simply better. The newly recorded takes, while technically perfect, sometimes felt a little stale in comparison.
This is a classic case of “demo-itis,” but Wade offers a crucial perspective: trust your producer or engineer. An engineer hearing both the demo and the new take for the first time has an unbiased opinion. If they say the old performance has more magic, they’re probably right. They aren’t attached to the demo; they’re just reacting to what sounds best.
How to Direct a Vocalist Effectively
To avoid sterile performances in the first place, Andrew shared his #1 rule for directing a vocalist: give one general note at a time.
Don’t overwhelm your singer with a paragraph of feedback between takes (“on this word, do this; at the start of the line, be careful of that…”). They’ll get stuck in their head trying to remember a checklist instead of delivering an emotional performance. Instead, target the core issue with a single, simple instruction like, “Be more aggressive,” or “Try under-pronouncing the words a bit.” This keeps them focused on the feeling, which is where great takes come from.
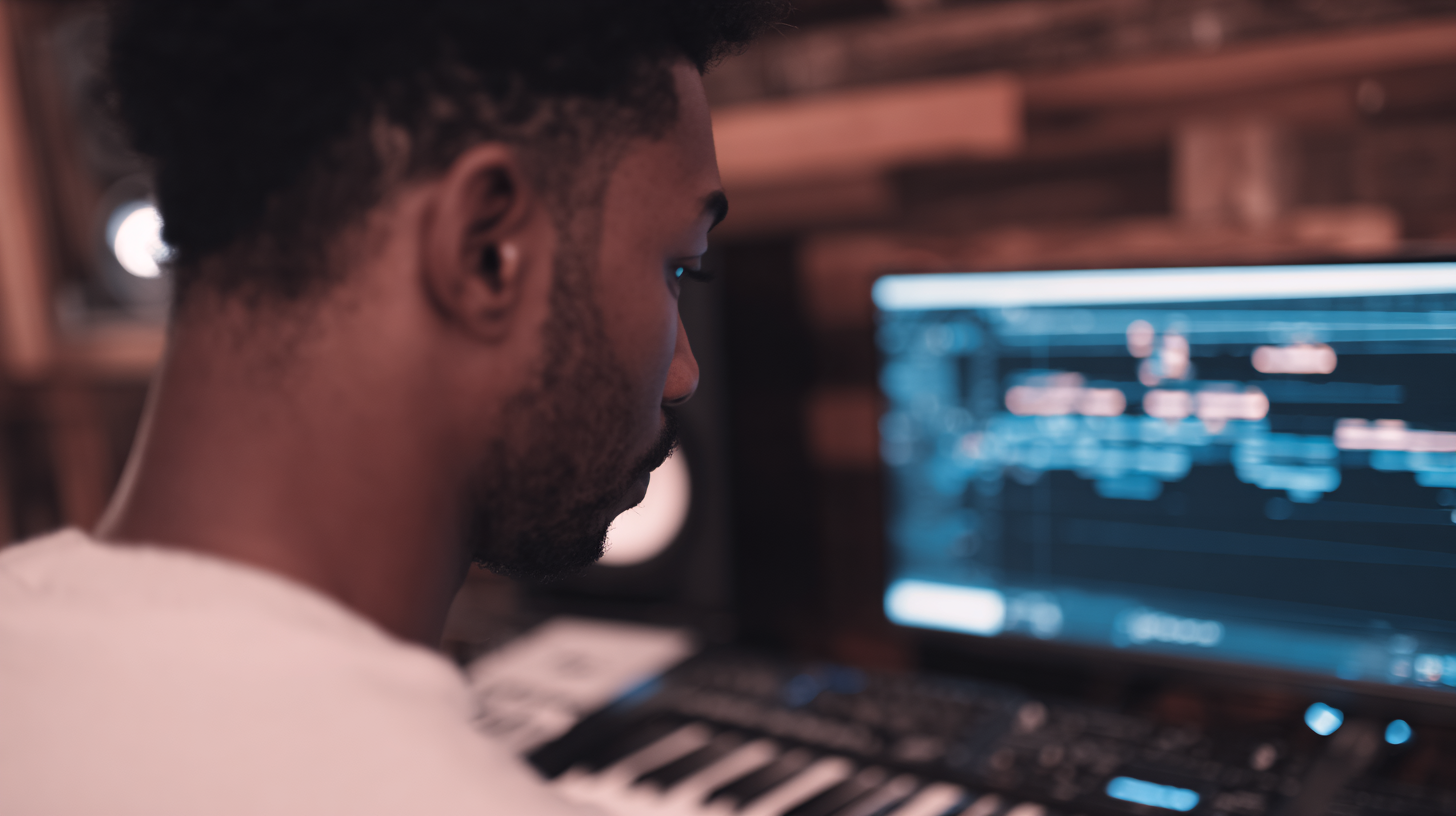
The Main Screamed Vocal Chain Breakdown
Now for the main event: the aggressive, in-your-face screamed vocals. The foundation for this sound starts long before any plugins are opened.
The Recording Setup: Getting It Right at the Source
- Room: The vocals were tracked in a totally dead room with zero natural reverb. This is critical for a clean, tight, and direct modern metal vocal sound.
- The Chain: The microphone was a classic Neumann U 87, running into a high-end preamp (either a UTA or Chandler) and then into an Empirical Labs Stressor for some initial compression on the way in. This combo delivers a professional, mix-ready sound from the get-go.
Plugin #1: Extreme Compression with a Stock Plugin
Even after being compressed by the Stressor, the vocal track got another heavy dose of compression inside Pro Tools. Andrew used the stock Pro Tools Compressor/Limiter with an attack time set so fast that it essentially acted as a limiter, distorting the signal slightly. This trick shaves off every peak and adds another layer of grit and aggression.
Plugin #2: EQ for Clarity and Presence
To ensure the vocals cut through the massive guitars, some strategic EQ was necessary. The key move was a boost of about 1.5 dB around 5 kHz. This adds presence and intelligibility, allowing the vocal to sit prominently in the mix even if its overall volume is turned down.
Plugin #3: Adding Air with Slate Digital VMR Revival
To add a final professional sheen, Wade used the Revival plugin from the Slate Digital VMR suite. This tool is perfect for adding smooth, ultra-high-end “air” to a track. It’s a subtle move that you can really hear in solo, adding that silky top-end that makes the vocal sound expensive and polished without adding harshness.
Gluing It All Together: Vocal Bus Processing
For parts with multiple vocal layers, sending them all to a single bus for group processing is a pro move for creating a cohesive sound.
- Bus Compression: A compressor on the vocal bus helps glue the layers together. It was set to react more aggressively when multiple tracks were playing at once, evening out the dynamics and making the stacks sound like a single, powerful performance.
- Bus De-essing: Sibilance (the harsh “s” sounds) can build up quickly when you stack vocal tracks. Andrew placed a de-esser on the main vocal bus to tame this. This is far more efficient than de-essing every individual track and ensures the final vocal group is smooth and listenable.
Bringing It All Together
Achieving a pro-level metal vocal sound like Wage War’s is about more than just presets. It’s about leveraging performance, using organic techniques, and applying aggressive-yet-purposeful processing. From using an old mic for lo-fi texture to stacking compressors and processing vocal busses, every move Andrew Wade makes has a reason.
Wage War on Nail The Mix
Andrew Wade mixes "Stitch"
Get the Session
These techniques are a fantastic starting point for your own productions. But imagine watching Andrew actually dial in these sounds, explaining every knob turn, and showing you how he makes it all fit with charging drums and huge guitars. With Nail The Mix, you get to watch the pros mix your favorite songs and get the raw multitracks to do it yourself.
Want to go deeper and learn the systems the pros use to get incredible results on every mix? Explore our full list of in-depth production and mixing courses.
Join the Nail The Mix community and start learning from the producers behind your favorite albums.