How to Record a Guitar DI for Perfect Metal Tones
Nail The Mix Staff
We all chase that perfect, face-melting metal guitar tone. We obsess over amps like the Peavey 5150, amp sims from Neural DSP, and impulse responses that sound like a fistfight in a speaker factory. But here’s the brutal truth: if your DI signal is garbage, your final tone will be garbage. Full stop.
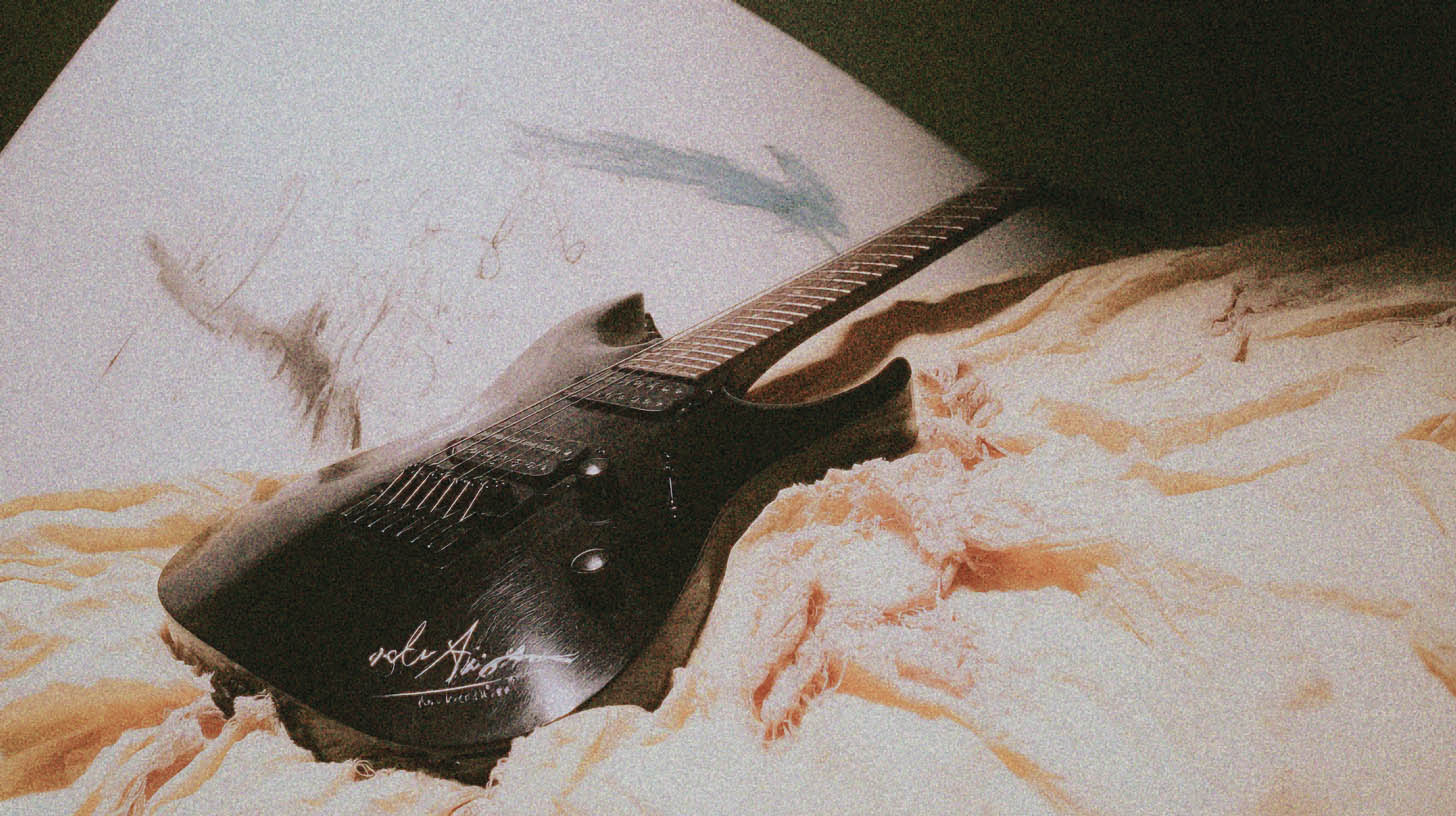
The DI (Direct Input) signal is the raw, un-amped performance from your guitar. It’s the source code for everything that follows. Mess this up, and no amount of re-amping, expensive plugins, or mixing voodoo can truly save it. A weak, noisy, or clipped DI will translate into a weak, noisy, and fizzy amp tone.
So, before you even think about dialing in that amp, let’s get this fundamental step right. Capturing a killer DI is non-negotiable.
Why Your Guitar DI Is Everything
In modern metal production, the DI is paramount because it gives you ultimate flexibility. With a clean, powerful DI track, you can:
- Re-amp endlessly: Send that DI back through real amps to find the perfect tone without exhausting your guitarist. And if volume is an issue, a load box lets you crank your tube amp silently and capture that tone direct.
- Audition hundreds of amp sims: Drag and drop different plugins on your DI track until you find the one that slays.
- Edit with surgical precision: Tighten up chugs and clean up noise on a clean waveform before it gets buried under layers of distortion.
A pro-quality DI is your ticket to a pro-quality mix. It all starts here.
The Gear You Actually Need to Record a DI
You don’t need a million-dollar studio, but you absolutely cannot cheap out on the core components. Let’s break down the signal chain.
It Starts with the DI Box
Your audio interface’s instrument input (Hi-Z) might be “okay,” but a dedicated, high-quality DI box is a game-changer. Its job is to take the high-impedance, unbalanced signal from your guitar and convert it into a low-impedance, balanced signal that your mic preamps can handle cleanly and without signal loss.

Bad DI vs. Good DI: The Real-World Difference
If you’re using some beat-up, ancient DI box you got from your uncle’s pawn shop—don’t. A cheap DI can introduce a high noise floor, smear your transients (the pick attack!), and give you a thin, lifeless frequency response. The result? Your amp sim sounds weak and fizzy, and you’re left wondering why.
A quality DI preserves the full frequency spectrum of your guitar and captures every detail of the performance with clarity and punch.
Your Go-To Options
- Budget-Friendly & Solid: You can’t go wrong with Radial Engineering. Their boxes are built like tanks and are an industry standard for a reason. The passive Radial ProDI is a workhorse for passive pickups, while the active Radial J48 is phenomenal for active pickups like EMGs or Fishman Fluences, giving you tons of headroom. For around a hundred bucks, it’s one of the best investments you can make.
- The All-in-One Powerhouses: If you plan on doing a lot of re-amping, consider a combination DI/re-amp box. Units like the Little Labs Red Eye 3D or the Two Notes Torpedo Reload offer pristine DI capture and a dedicated, purpose-built re-amping solution in one rugged package. They streamline your workflow and ensure the utmost quality both going in and coming out.

Nailing the Signal Chain and Gain Staging
Once you have a solid DI box, the rest of the chain needs to be just as solid.
Guitar, Pickups, and Cables
This should be obvious, but it has to be said: use a quality guitar with fresh strings and properly set up pickups. A well-maintained instrument is your first point of contact, and don’t overlook the impact of your pick choice on your tone and attack—it directly shapes the transients your DI captures. Likewise, don’t use that crackly, cheap cable you’ve had since high school. Invest in reliable cables from brands like Mogami to ensure a clean signal path.
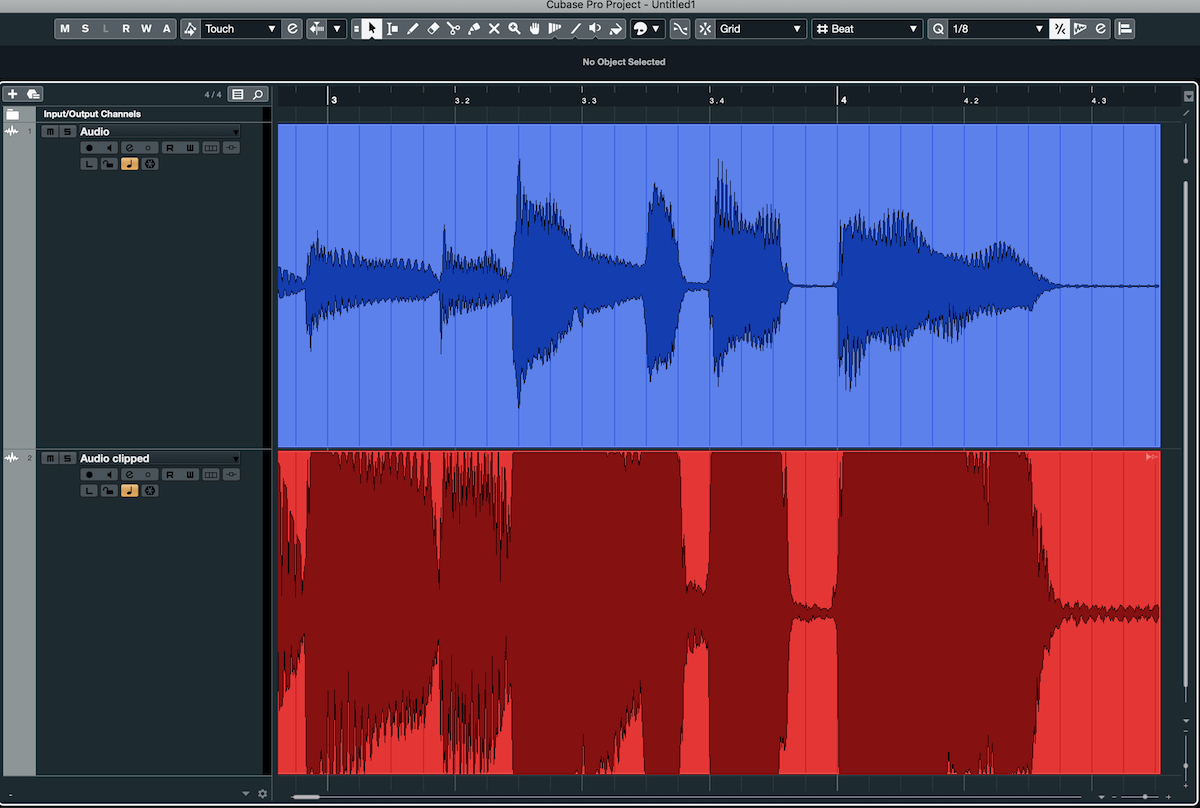
Setting Levels: The “Don’t Clip” Golden Rule
This is where so many home producers go wrong. You want a strong, healthy signal, but you DO NOT want to clip the input of your audio interface. A clipped DI is completely unusable.
In your DAW (Pro Tools, Reaper, Logic, etc.), watch your input meter while the guitarist plays the loudest part of the song (e.g., a palm-muted chug). Aim for your peaks to hit somewhere between -12dBFS and -10dBFS.
This leaves plenty of headroom, ensuring that no unexpected hard-hit transient will cause digital clipping. It gives your amp sims or the preamp of the physical amp room to breathe and react dynamically, which is crucial for a realistic and powerful tone.
DI Processing: To Process or Not to Process?
When it comes to processing your DI, the golden rule is: less is more.
Processing On The Way In? Just Don’t.
Do not put any EQ or compression on your DI signal while recording. The goal is to capture the purest possible representation of the guitar’s performance. You want that raw data. Any processing you add now is baked in forever. Save all your tone-shaping moves for the mixing stage, where you have unlimited flexibility and the context of the full mix.
The “DI Edit”: Essential Pre-Amp Cleanup
Before you even think about sending that DI to an amp sim, you should clean it up. This is your chance to get surgical.
- Tighten the Performance: Go through the DI track and tighten up any sloppy chugs or late notes. Use your DAW’s editing tools to make the performance machine-gun tight. For a step-by-step walkthrough of this process, see how Joey Sturgis handles metal guitar editing in Cubase—his cut-to-grid-and-nudge technique preserves the pick attack while locking everything to the beat.
- Cut the Noise: Gate the DI or, even better, manually edit out the noise between riffs. This will result in a much tighter and more aggressive sound once it hits a high-gain amp.
- Pre-Amp EQ (Use With Caution): Sometimes, a little bit of subtractive EQ on the DI can work wonders. A high-pass filter set around 80Hz-100Hz can clean up low-end mud before it even hits the amp, preventing unnecessary flub. For more advanced EQ strategies to carve out space in your mix, check out our in-depth guides.
- Pre-Amp Compression (An Advanced Trick): For inconsistent players, a tiny bit of fast-attack compression can even out the dynamics of the DI before the amp. This can lead to a more consistent and saturated distortion. But be careful—overdo it and you’ll kill the performance. If you want to master the art of taming dynamics, our resources on metal compression are a great place to start.
Turning Your Perfect DI Into a Monster Tone
Getting that clean, punchy, and robust DI is step one. It’s the solid foundation upon which every legendary metal tone is built. From here, the next decision is how you capture that tone—whether through amp sims or by micing a real cab using a technique like the Fredman dual-SM57 setup.
Knocked Loose on Nail The Mix
Will Putney mixes "Mistakes Like Fractures"
Get the Session
But what about turning that DI into a massive, mix-ready guitar sound that rips through the speakers? That’s where the real art begins. Imagine watching producers like Jens Bogren, Will Putney, or Billy Decker take a raw DI and sculpt it into a finished tone, explaining every plugin, setting, and decision along the way.
With Nail The Mix, you can. Stop guessing and start learning from the best in the business. Get started with our free training and learn how to mix modern metal beyond presets.
And if you’re ready to go even deeper and access our entire vault of knowledge, URM Enhanced offers over 1,500 more tutorials covering every aspect of metal production. Your journey to a killer sound starts now.