The long-and-low reverb trick for vocal depth without wash (ft. Dance Gavin Dance)
Nail The Mix Staff
The vocal production on a Dance Gavin Dance record is a masterclass in organized chaos. It’s spacious yet in-your-face, clean yet full of character. Getting that signature sound is something many producers chase, and a huge piece of that puzzle comes down to the clever use of reverb, delay, and automation.
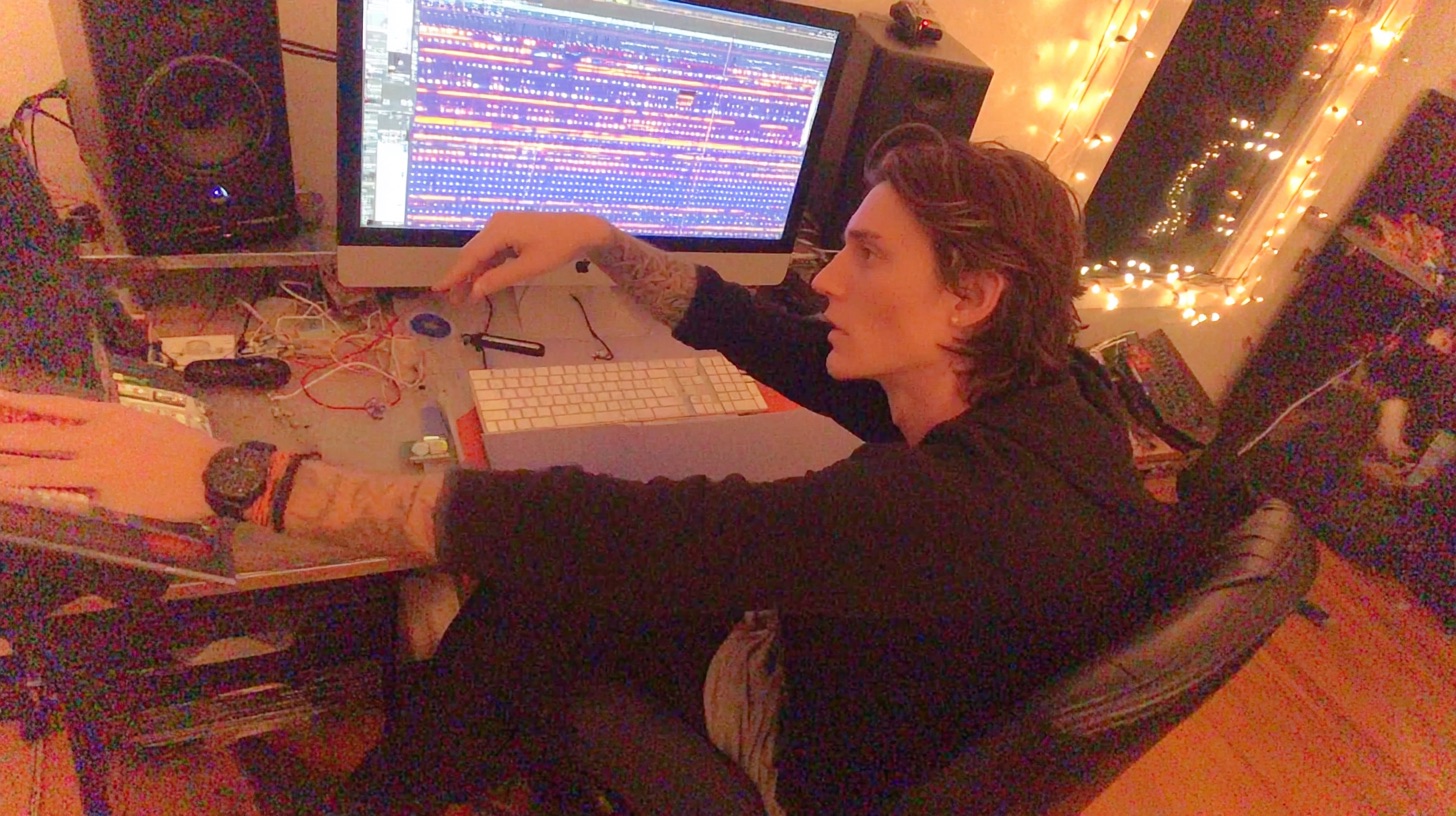
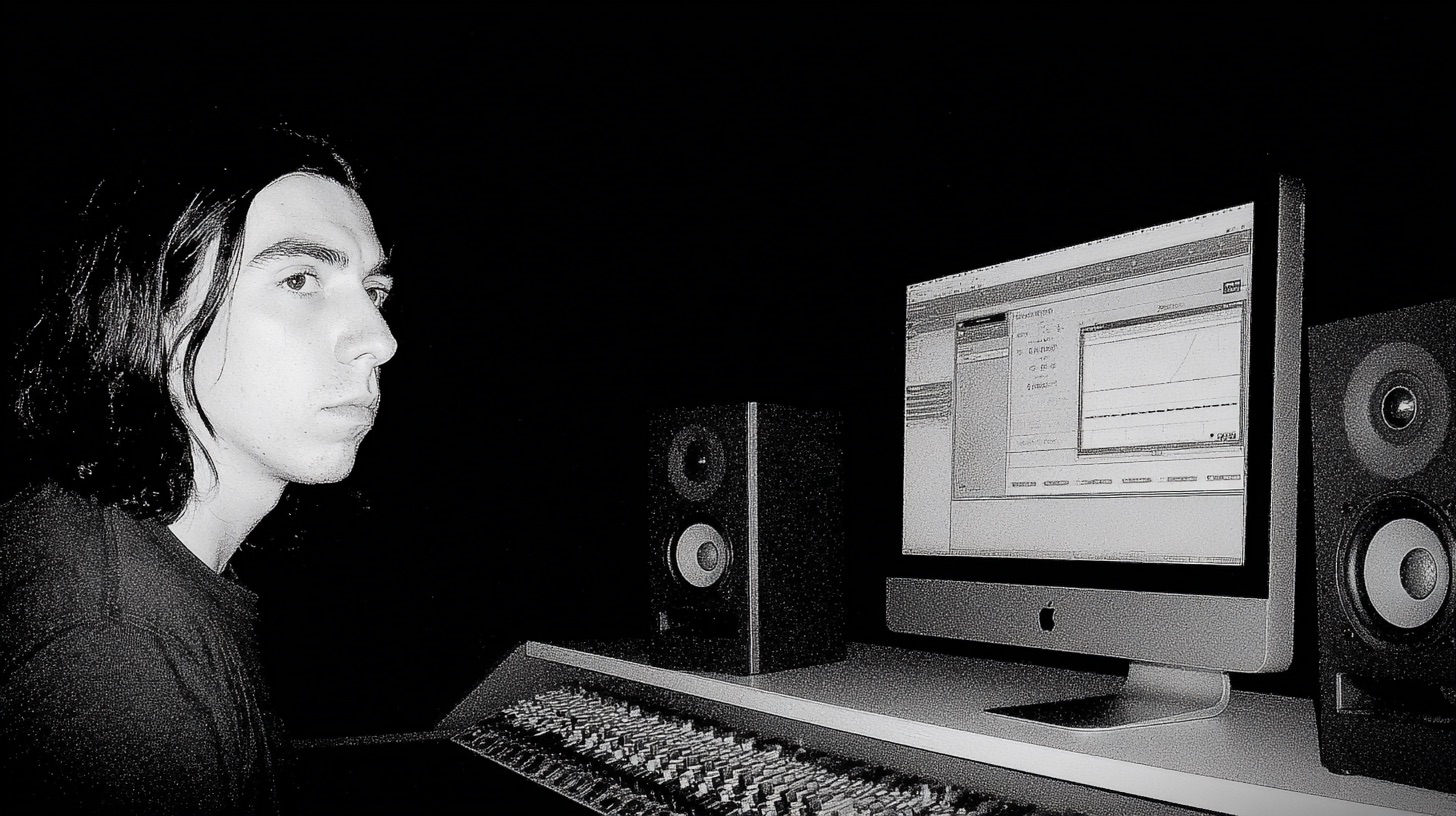
We got a look over the shoulder of legendary producer Kris Crummett as he mixed a DGD track, revealing some of the essential techniques he uses to give the vocals their space and impact. Forget presets and simple sends; these are the detailed, deliberate moves that make a professional mix shine. Let’s break down how he crafts that iconic vocal sound.
Building the Foundation: The “Long and Low” Reverb
One of the most surprising takeaways from watching Kris work is his core philosophy on vocal reverb. You might expect a complex chain of multiple reverbs, but his foundational approach is deceptively simple.
He sets up a vocal reverb with a fairly long decay time, creating a large, ambient space. But here’s the trick: he turns the send level way down. The goal isn’t for the listener to consciously hear a big reverb tail. Instead, it’s there to create a subtle sense of depth and air around the vocal that helps it float above the dense instrumentation. This reverb is on throughout the entire song, acting as a constant atmospheric bed for the vocals to sit in.
This technique is a perfect example of how to add space without washing out your vocal. It provides the size, but by keeping the level low, the vocal remains clear and upfront.
Creating Distance: Making Room Mics Come Alive
In addition to the main vocal takes, the track features layered vocals that were recorded in the room to create a sense of distance—as if the singer is shouting from across the studio. But a dry room mic often isn’t enough. Kris uses some killer saturation and EQ tricks to accentuate this effect.
Dirtying Up the Room Tone with Saturation
Instead of reaching for another reverb plugin, Kris’s first move to enhance the room vocals is to add some grit. He inserts an effect rack directly on the track to give it more excitement and make it feel more aggressive. His tools of choice for this are a combination of:
- Soundtoys Deviloc: A little bit of this aggressive distortion plugin adds harmonic content and bite.
- Soundtoys Radiator: This preamp modeler adds some analog-style saturation and warmth.
This combo doesn’t just make the room vocal louder; it adds texture and character, helping it cut through the mix in a unique way that a clean signal wouldn’t.
Taming the Fizz with Surgical EQ
Adding that much distortion can introduce some unwanted high-end harshness. The room vocal now sounds cool and aggressive, but it’s a bit too bright and fizzy.
The next step is to pull out an EQ and surgically carve out that brightness. Kris applies a precise cut to the upper frequencies, rolling off the harsh edge created by the Deviloc and Radiator. The result? The vocal now sounds authentically distant, like someone is actually yelling in the back of the room, without the painful top end. This is a classic example of how saturation and smart metal EQ strategies work together to shape a tone.
Using Delay for Impact, Not Just Ambience
While the reverb is a constant, Kris uses delay much more tactically. He doesn’t want a delay washing over the entire vocal performance. Instead, he automates the delay send on the vocal bus, turning it on only for specific words or phrases where he wants to add emphasis and flair.
The Go-To Delay: Echo Farm
When it’s time to add that delay, Kris reaches for a true studio classic: Line 6 Echo Farm. He hails it as one of his favorite delay plugins of all time, praising its unique character that even hardware can’t quite replicate. He also gives a nod to Soundtoys EchoBoy as another one of his go-to tools. By automating this specific delay on key moments, he creates momentary ear candy that makes the vocal performance more dynamic and engaging.
The Vocal Bus Trick: Automation for Maximum Punch
This is one of the most powerful and actionable techniques Kris demonstrates. We all know that feeling when you want a specific word or syllable to jump out of the speakers and hit the listener in the face. The amateur move is to just automate the volume up on the vocal track itself. The problem? That also pushes more signal into your reverb and delay sends, making the word louder but also more washed out.
Kris has a smarter solution.
To make a word like “don’t” or the start of “you” really pop, he automates the fader on the main vocal bus, not the individual audio track.
Because his reverb and delay sends are set up pre-fader on the audio tracks, automating the post-fader bus volume makes the dry signal of the word jump in level, while the amount being sent to the effects remains the same. This makes the word hit harder, dryer, and more aggressively, cutting through the mix with incredible clarity and punch. While Kris uses fader rides here, another way to get that pop is with careful vocal compression to control dynamics and add attack.
Learn to Mix Like The Pros
From the “long and low” reverb approach to the vocal bus automation trick, these techniques give you a direct look into how a world-class producer like Kris Crummett polishes a vocal to perfection. Applying these concepts—using effects with intention, shaping tones with saturation and EQ, and using automation for impact—can elevate your own mixes.
These tips are just a small sample of what you can learn when you see a pro work through an entire song from start to finish. In his full Nail The Mix session, Kris Crummett breaks down every single decision he made while mixing this Dance Gavin Dance track.
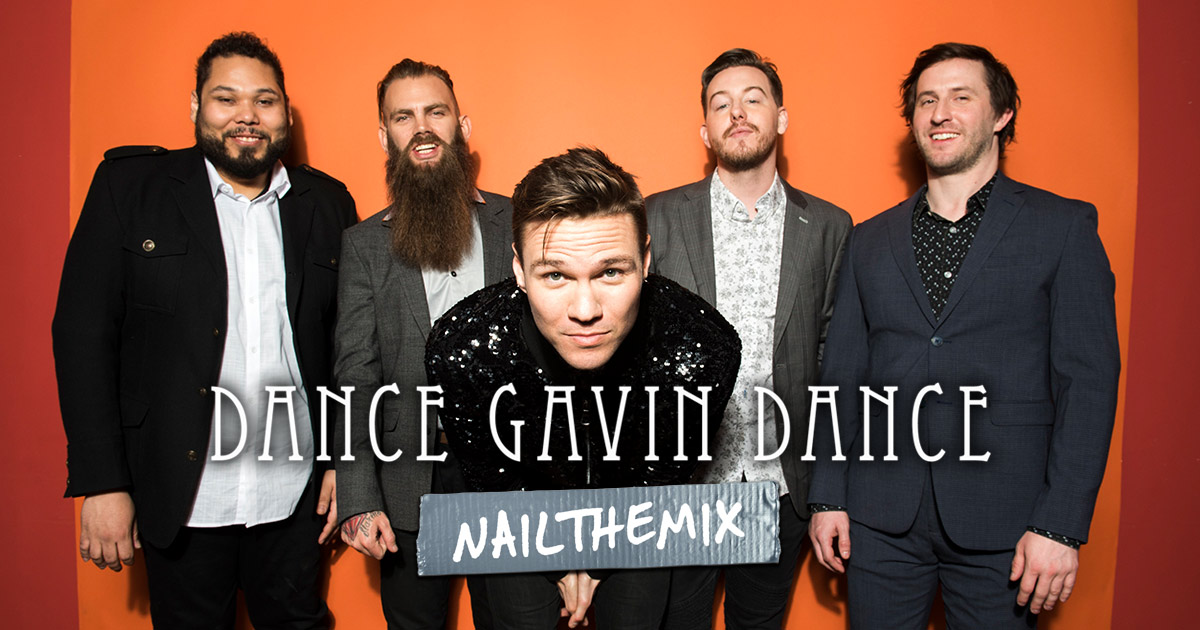
Dance Gavin Dance on Nail The Mix
Kris Crummett mixes "Young Robot"
Get the Session
If you’re ready to move past the guesswork and learn the real-world techniques that the pros use to craft massive metal and rock records, check out Nail The Mix. You get the actual multi-tracks from bands like Dance Gavin Dance, Gojira, and Lamb of God, plus an 8-hour masterclass showing you exactly how they were mixed. It’s time to unlock your sound and take your mixes to the next level.